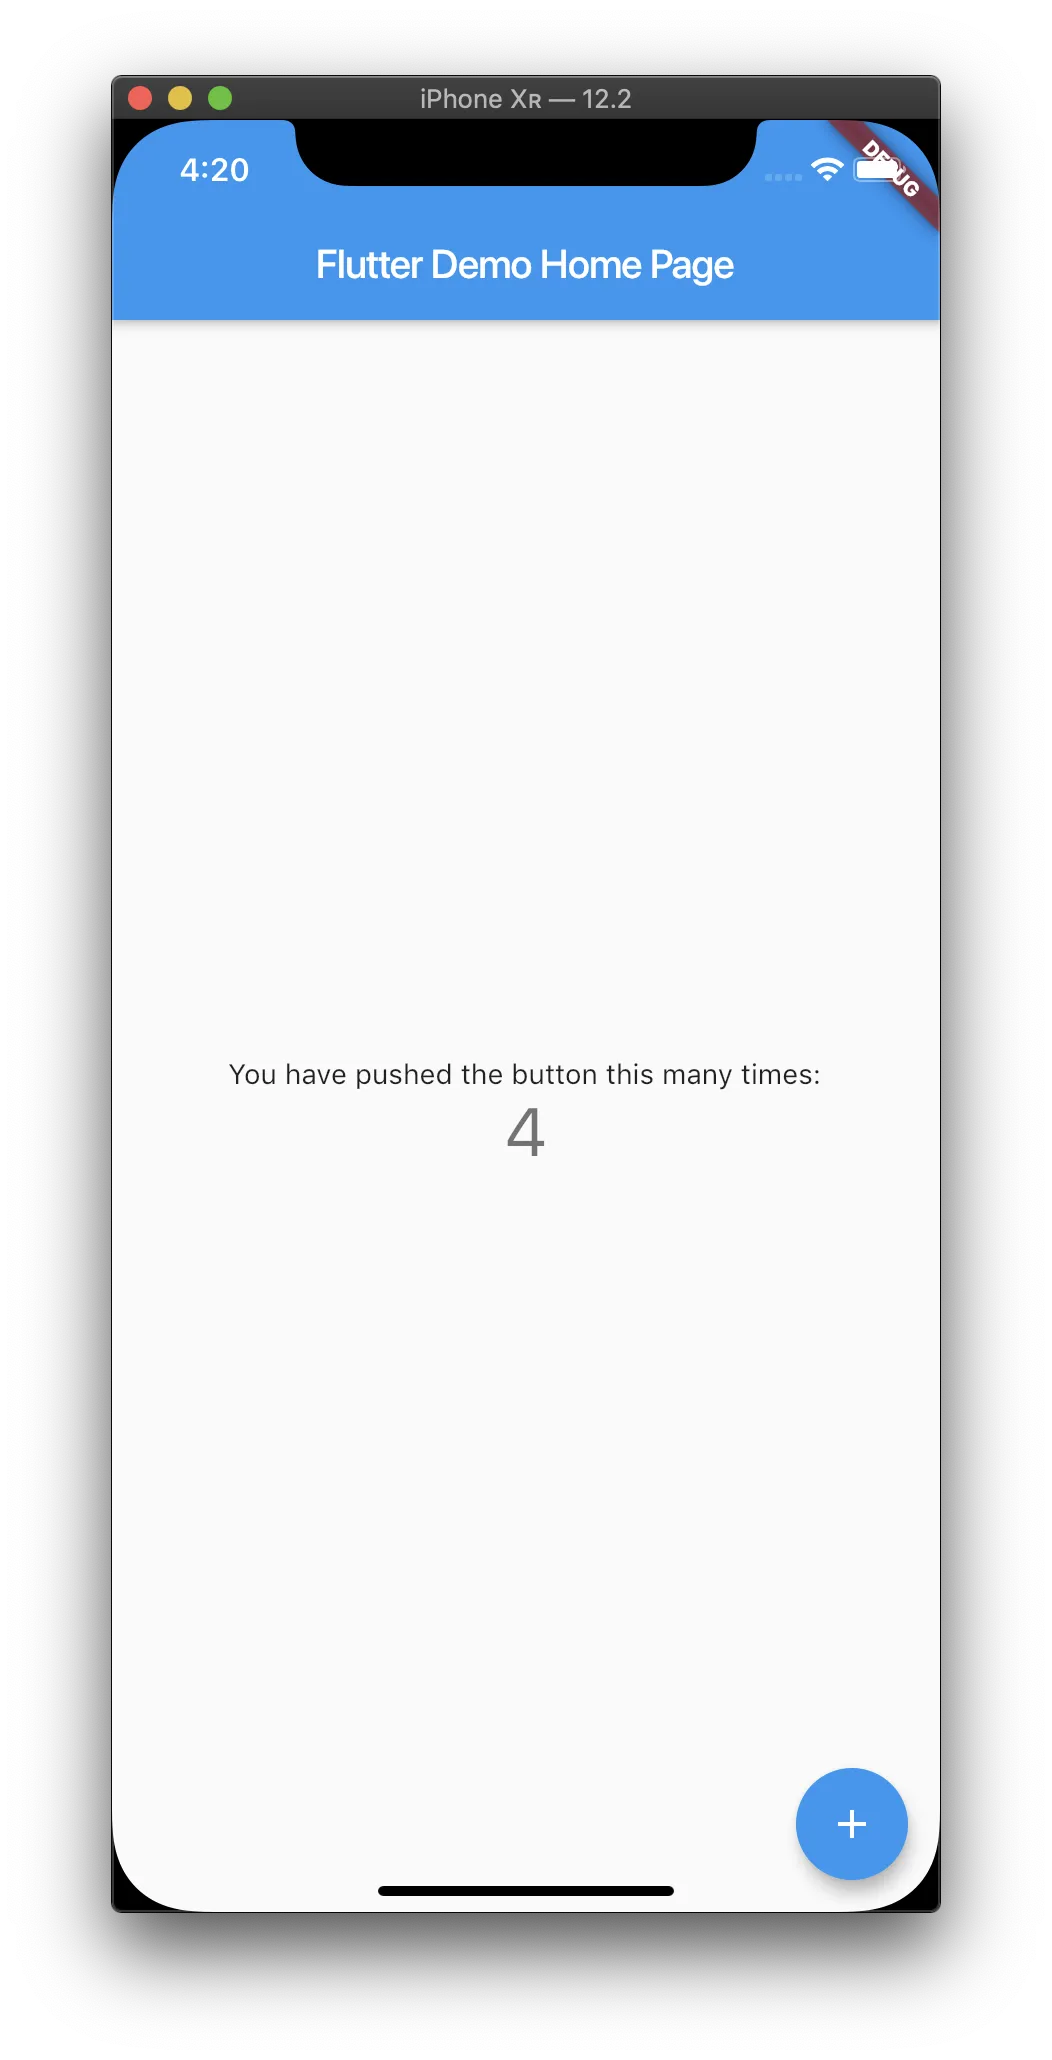
Flutter Get Started
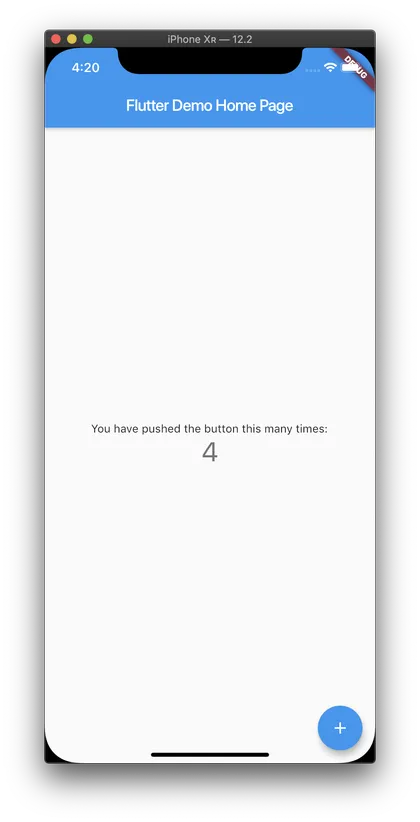
Here is some Flutter installation steps, as I feel that some part still missing in the official flutter documentation.
Flutter Installation Steps
-
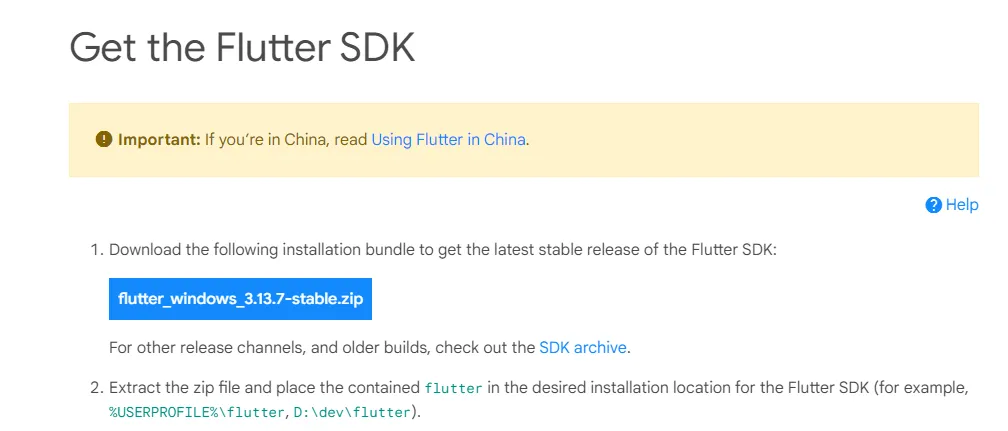
Get the Flutter SDK
this steps is simple, download, placed somewhere. link here
-
Update your path link here
-
Run
flutterto make sure if path is recognized in cmd -
Download and install Android Studio Giraffe
After installation, create a new project and ‘Run’. It will auto download and install neccessary components. An android emulator will be launch in the end.
-
Run
flutter doctorto check if Android Studio is there.
If Flutter cannot locate it, run
flutter config --android-studio-dir=<directory>to set the directory that Android Studio is installed to. -
Install command-line tool
The easiest way is to follow instruction here:
- Open Android Studio
- Tools Menu, SDK Manager
- choose SDK Tools from inner panels
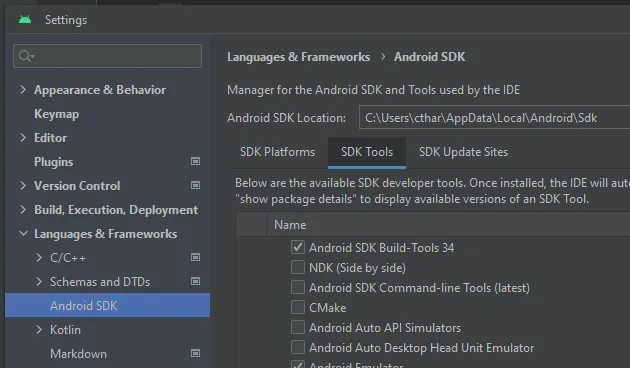
- Tick Android SDK Command-line Tools and click ‘apply’
-
Run
flutter doctor --android-licensesand it should works -
Run
flutter doctorto see if any component missing -
Open up your VS Code editor and install Flutter extension
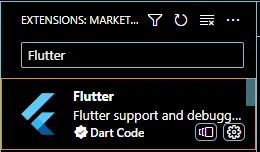
you may have to restart VS Code after installation
-
Run
flutter create {your_app_name}to create your first project and opened it -
You shall see a Windows (windows-x64) tab at bottom right, click it

-
A dialog will be prompt, you should see emulators, run it
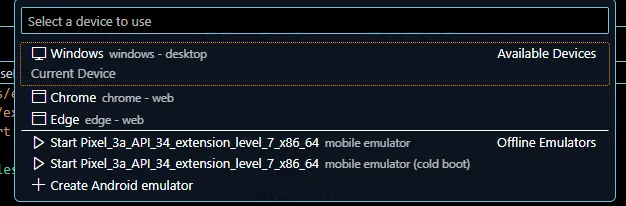
-
After the emulator is ready, pressed ‘F5’ and your app shall build on the emulator. Whoorays!